How much does a car amplifier repair cost? A working understanding of electronics and mechanics is necessary to repair car amplifiers yourself. This kind of work is typically not covered by basic insurance plans. The manufacturer’s warranty or comprehensive insurance, however, may in some circumstances help defray the costs of repairing your amplifier.
What Is A Car Amplifier?
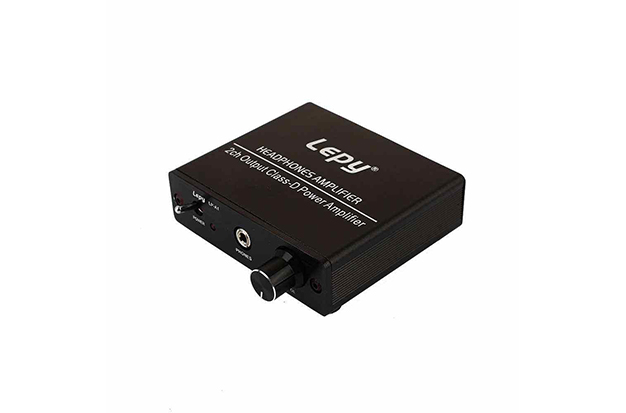
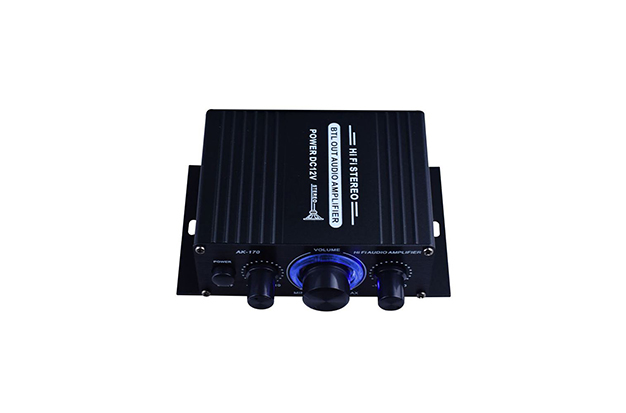
A component in your car called an amplifier transforms the low voltage signals coming from your audio source equipment (i.e., stereo, auxiliary cord, or (Bluetooth) into a signal potent enough to drive two speakers. Although they can vary, the following are the fundamental parts of a car amplifier:
- A DC-DC high-power switching power supply
- Noise prevention circuitry
- Speaker crossover circuitry
- Bridging circuitry
- Speaker-level input stages
What Are The Advantages Of Owning A Car Amplifier?
Adding an amplifier to your car has a few advantages!
- Sound Quality. You can boost your speakers’ output without wearing them out by using an amplifier. This lengthens the lifespan of your car speakers, and amplifiers add a better audio experience than what your speakers can produce on their own.
- Volume. The noise of the engine or if the windows are down can occasionally make it difficult to hear your music. Amplification makes it simpler to hear what you’re listening to without strain.
- Power. In particular, if you invested in high-quality speakers to raise the performance and value of your car, amplifiers provide the right power to get the best performance out of your speakers.
Why Did The Amplifier In My Car Stop Working?
The amplifier won’t operate if the external rotary cable isn’t powered. Checking the continuity of the ground wire comes next if the remote control and power cables are both in good condition. The amplifier might not turn on or might operate improperly if the ground connection is made improperly or not at all.

How Much Does Installing A Sound System In A Car Cost?
Depending on the components you use and the cost of labor, a sound system can range in price from $400 to $1,100. The breakdown for an entire system looks like this:
- Head units cost between $97-$200
- Amps cost between $90-$300
- Speakers cost between $30-$300
- And labor costs between $180-$400 depending on where you go
Of course, you can save money by using less expensive parts and doing the work yourself. However, as was already mentioned, some prior knowledge of electronics and mechanics is necessary for this kind of work.
How To Test Your Amplifier To Locate The Problem?
Even though fixing an amp necessitates at least a basic understanding of electronics, it’s surprisingly simple to identify the problem and decide whether a repair is necessary. Here are a few fundamental pointers.
Plugs
The most likely scenario is that your plugs’ connection is loose. Identifying whether this is the issue
- Check all your input and output jacks
- Check the main power supply
- If your main power supply has a plug, make sure the connection is good
Cartridge Fuses
Small glass tube with two metallic caps make up a cartridge fuse. The absence of carbon buildup or oxide powder on the interior of the glass is a sign of a blown fuse. Remove the fuse and use your multimeter to check it. Replace blown fuses as necessary with new ones of the same rating.
Speaker Wires
Your speaker wires are a simple additional thing to check. These occasionally connect your amplifier’s back to your speakers. Verify that there is no loose connection.
Loose Joints And Connections
Pulling the parts gently will allow you to inspect all solder points. Since you frequently need to melt the joint with a soldering iron, loose joints call for specialized equipment and expertise.
Blown And/or Loose Components
As a last resort, unscrew the covers to reveal the printed circuit board and carefully check the parts. To identify blown or loose components, such as a transistor, capacitor, or blown resistor, look for obvious signs of damage.
How To DIY Car Amplifier Repair?
The amp may be in protection mode because it has blown if your car amplifier isn’t producing any sound or power and the wiring is in perfect condition. A blown car amplifier may have a number of different causes, including mechanical failure due to component wear and tear or accident. Here are the main reasons why a car amplifier fails most frequently.
1) Crosswiring the ground and power wires.
2) inadequate ohm impedance
3) Gain that is not set up properly and is turned all the way up results in clipping running into a distorted signal.
4) Unintentionally, the speaker wires became shorted.
5) Vibrations from the subwoofers cause internal components of the amp mounted on the box to be damaged.
6) Overheating.
Having knowledge of the various causes will help you determine whether or not your car amp is blown out. Before we explain how to fix it, make sure the amplifier is receiving at least 12 volts by measuring the voltage at the amplifier’s terminals with a digital multimeter. It’s okay if the voltage is 12 or higher. A car amplifier’s mosfet transistors are currently the component that fails the most frequently. All you have to do is check the online service manual for your amplifier to see what kind of FET Mosfet transisters it uses. With a multimeter, you can then easily identify which ones are defective and replace them one at a time. If you are skilled at soldering, it should only take about 15 minutes to complete.
1) Turn the amplifier over, then take out all of the screws holding the back panel in place.
2) The panel is raised, and you set it aside.
3) Find every mosfet transistor. They are typically mounted on a metal heatsink at the top or bottom in groups of two, secured with a clamp and a screw.
4) Most often, the amp’s circuit board needs to be removed. There will be screws holding it in place; if necessary, unplug any connectors. To ensure you know how to put the amplifier back together, remember to take a picture of it beforehand. Later on, this will make things simpler for you.
5) To remove the old solder from the mosfet transistor, use a desoldering pump. It can now be removed, and you can check for shorts by setting your digital multimeter to ohms between all three pins. You will then be aware of which ones need to be changed.
6) The new mosfet transistor’s legs should be cut, and it should be placed inline with the relevant area of the circuit board. Make sure the connections don’t bridge over as you solder down the three points with care using a soldering iron.
Will Insurance Pay For Theft Or Amp Repairs?
Your plan should pay for the cost of repairs if you have comprehensive coverage and your system was harmed by something other than a car accident, like a fire, theft, or natural disaster. In situations like these, supplemental insurance can literally save your life! Even if you have complete coverage and the malfunction of your amp is unrelated to a specific incident, it’s important to know that wear and tear is not covered by this insurance. You would then need to speak with the manufacturer about your warranty.
Conclusion
Apply the same procedure to every type of mosfet transistor. Your blown dead car amplifier will be fixed 99.9% of the time by replacing all the bad ones at once. So if you have a dead amp that you want to fix but don’t want to send it in for a pricey repair, definitely give this a try. Please post a comment if you require assistance or have any questions.


